
This week we are going to connect some components to a Microcontroller and want to programm it to do something.
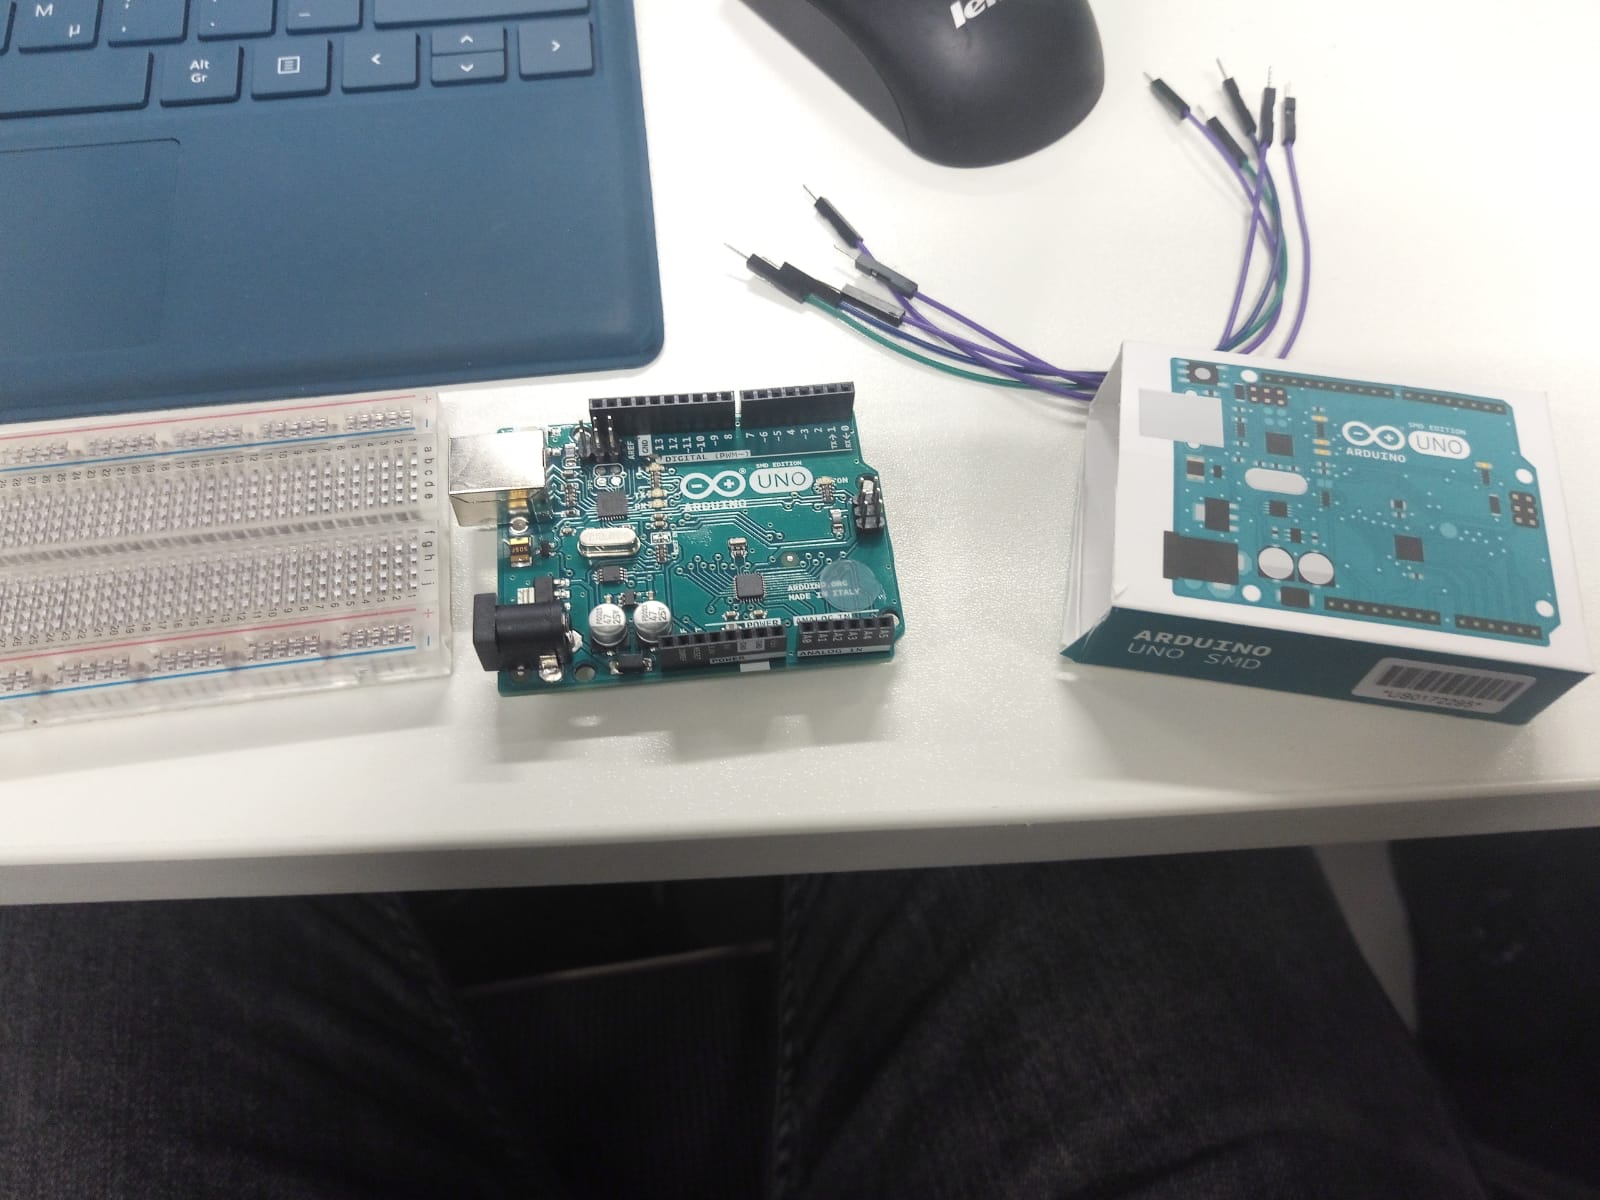
Our programmer is the Arduino Uno. We also use a Breadbord and some wires. The Arduino Uno comes along with:
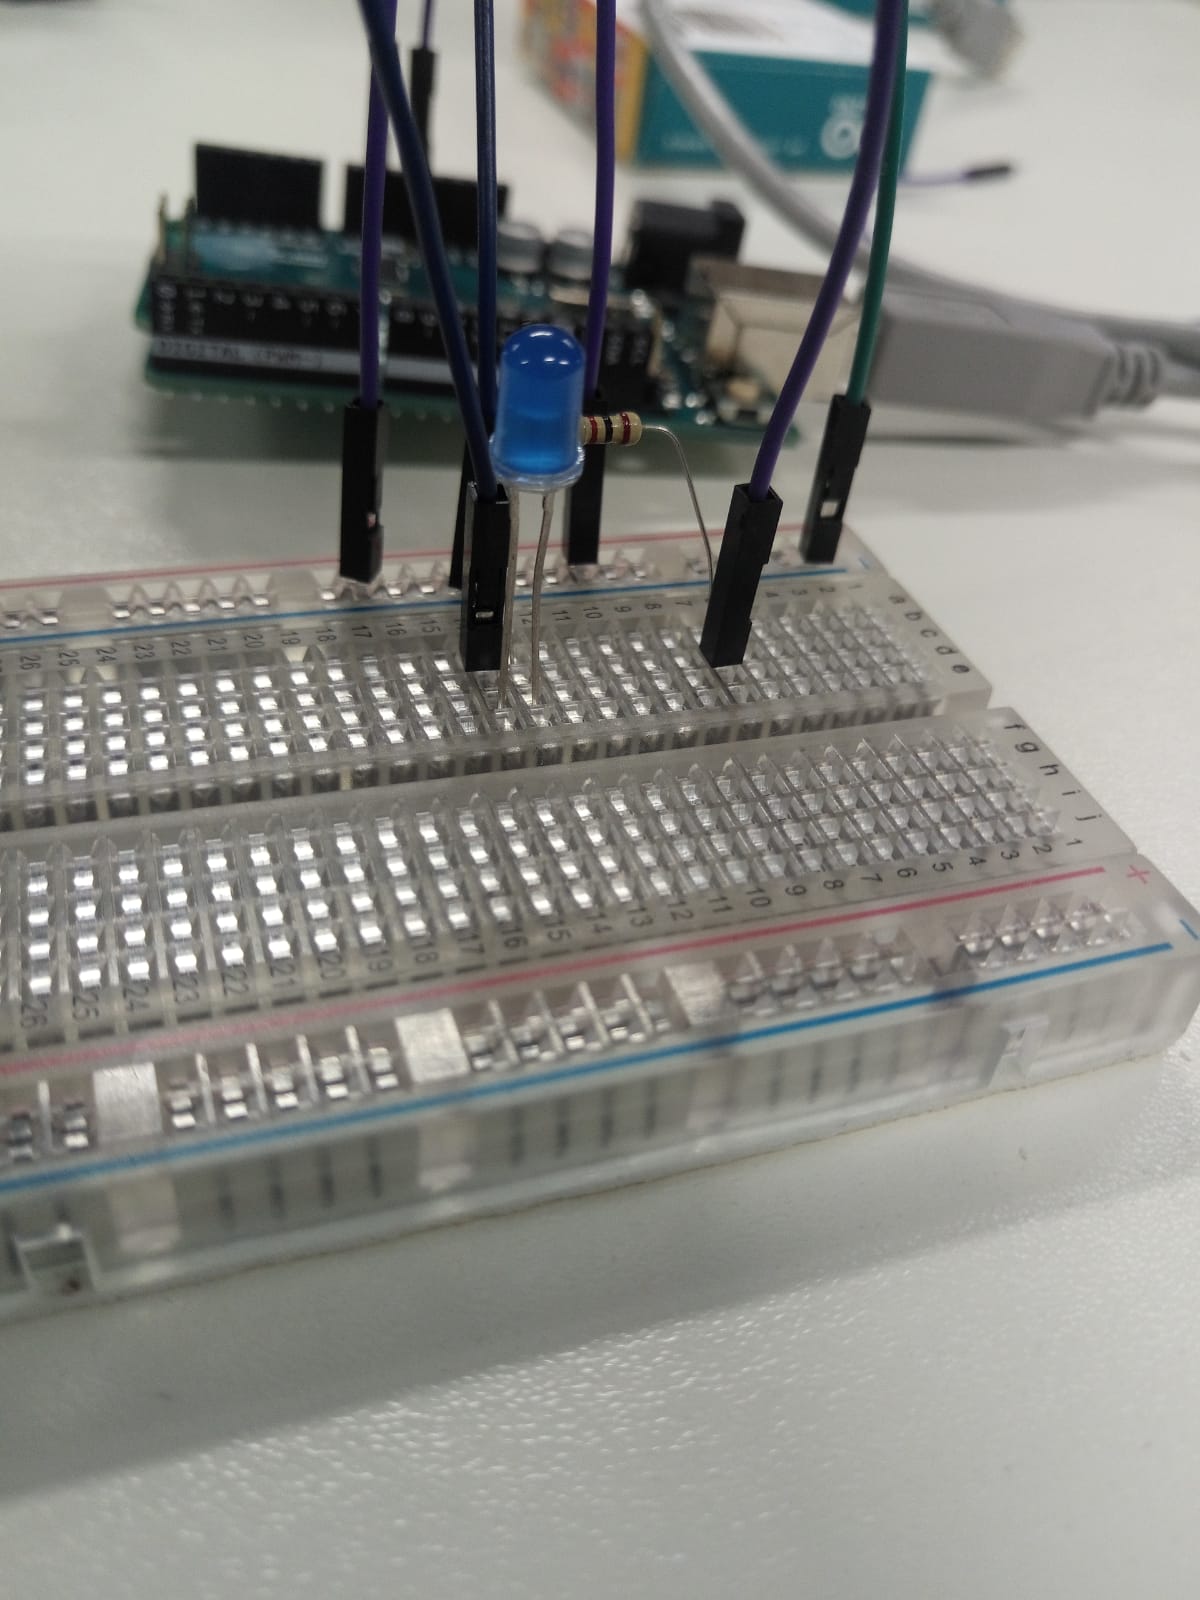
First thing we want to do is to turn on an LED. An LED has a negative and a positive side and needs 3.3v. You have to take care, to put the ends in the right direction, as well as put a 499Ohm Resistor between + and the LED.
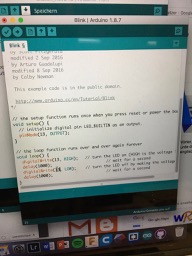
The Arduino has a USB connector with which you can programm it. You also need the Arduino Software which is free to download. Once started the Software, you have to choose your Board and a new sketch opens.
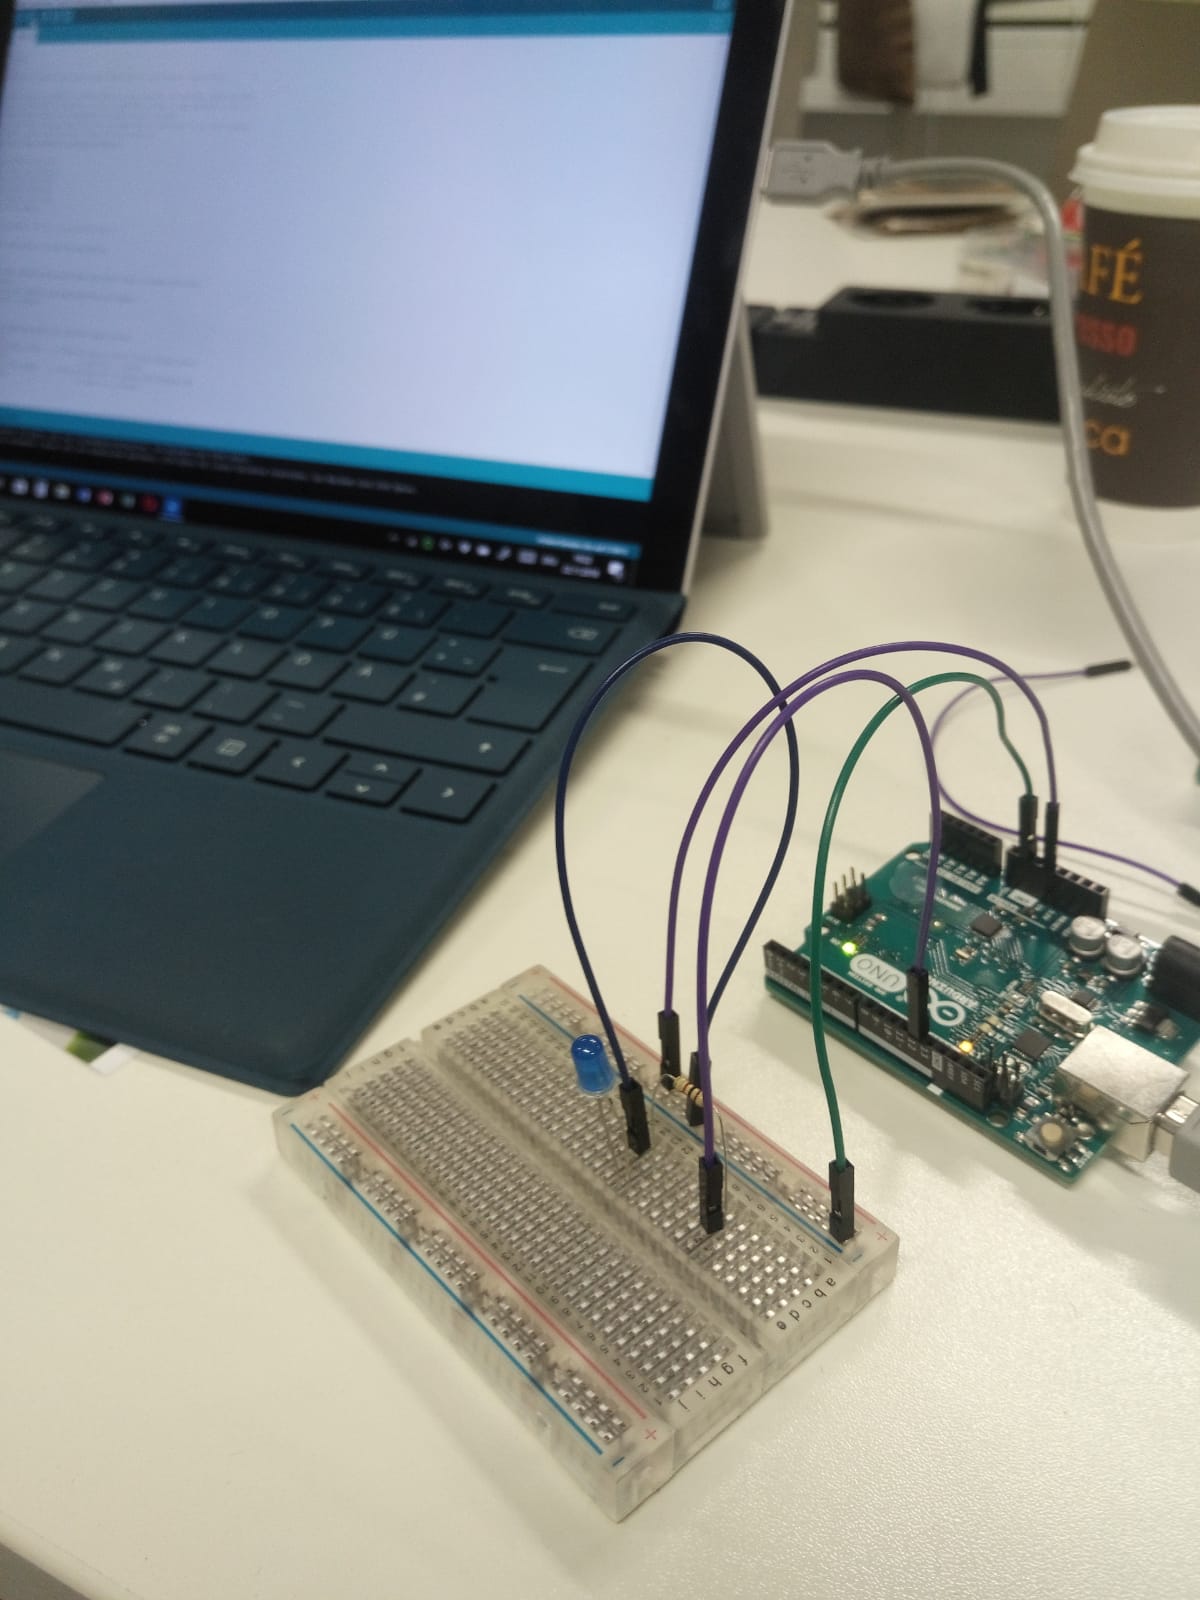
We used Pin Output 13 to connect the LED with our Microcontroller and also set the instructions of our scetch. |
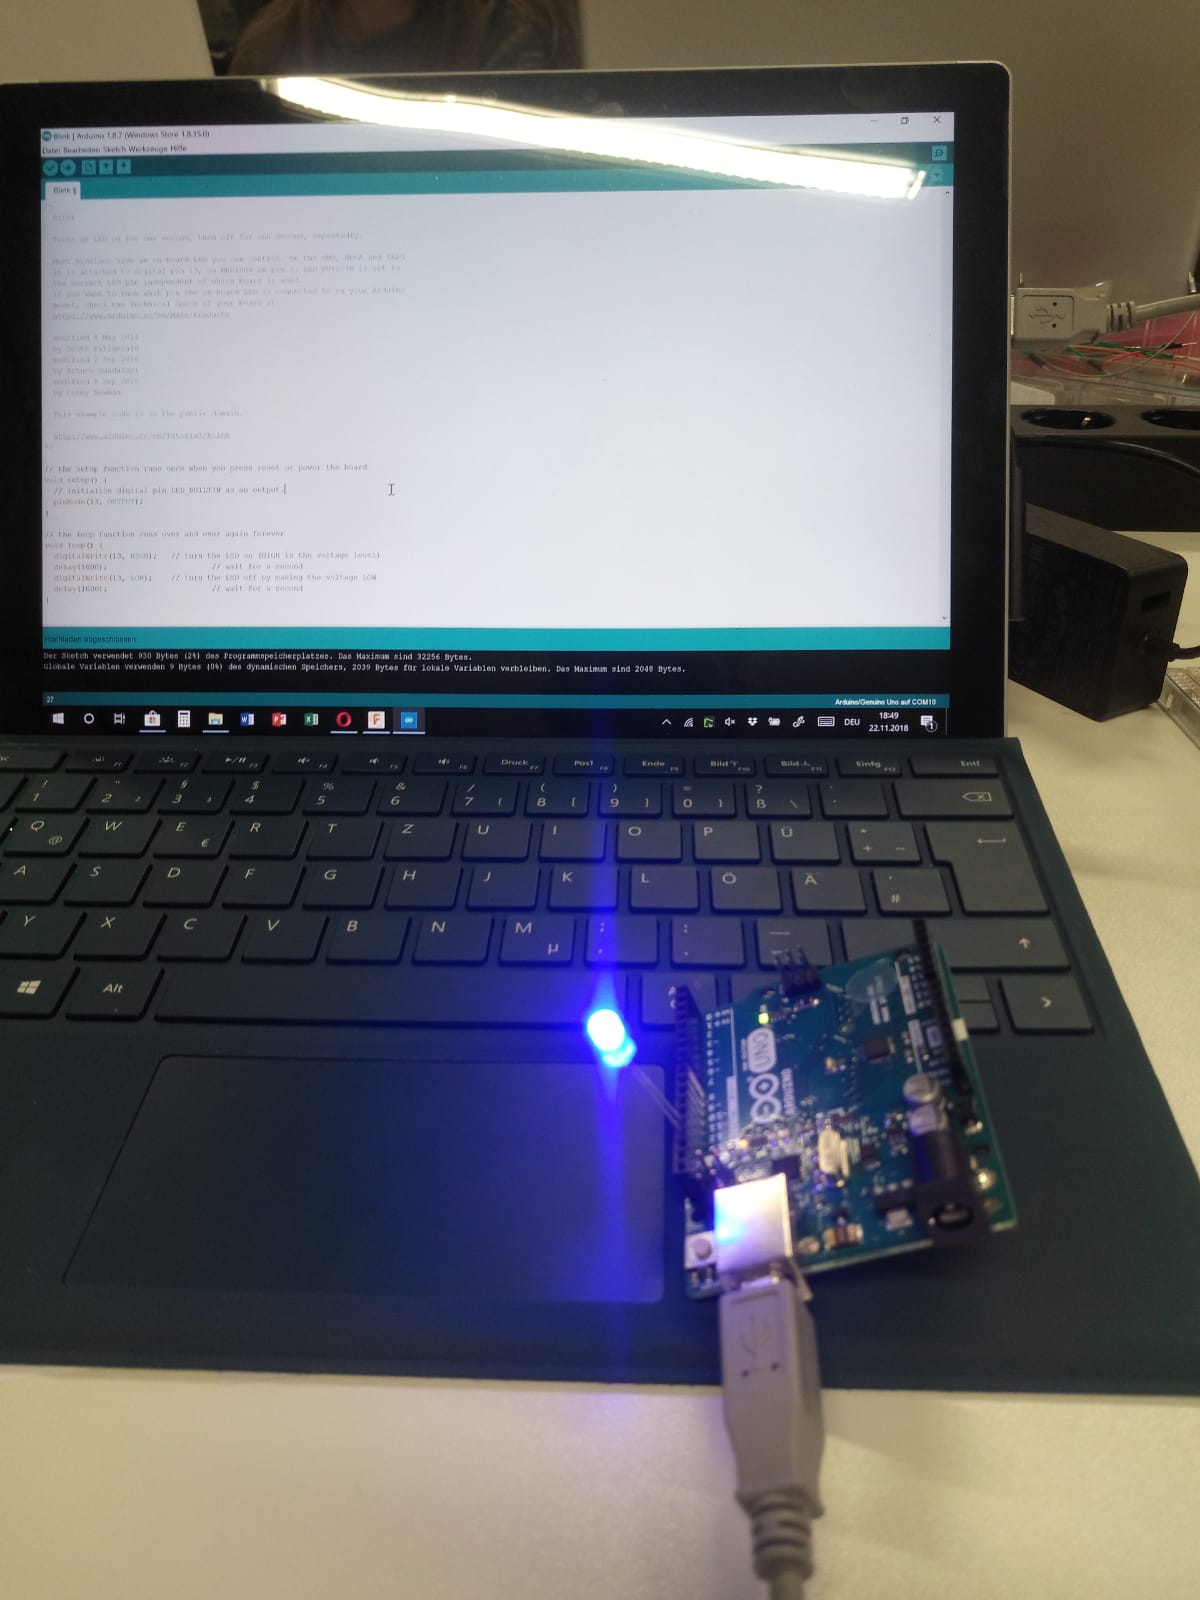
Now the LED blinks on and off |
